
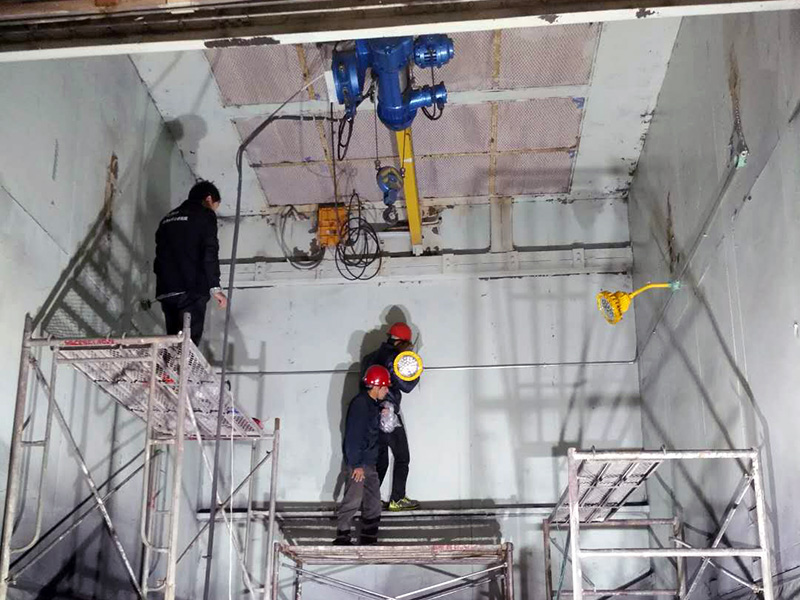
1. Preparation: Gather necessary tools such as electrical tools, screwdrivers, and thread. Begin by hanging the explosion-proof light on a hook. Then, proceed to connect the wire terminals, and assemble the light bulb’s protective cover and metal anti-collision net.
2. Wiring: Remove the lamp wire from the lamp head and join it using three or more screws.
3. Screws and Fixtures: Loosen the hex screws, round washers, and spring clips on the lamp head. Then, loosen the lamp head screws and secure the hook onto the screws.
4. Cable Entry Adjustment: Release the cable clamp, adjust its entry, and create an opening for inserting two wires. Connect a bi-color (yellow-green) wire to a marked screw for grounding.
5. Power Connection: Link the power cord with two circular washers. Ensure the cord is positioned between the washers for optimal contact before securing the lamp wire cover with screws.
6. Final Steps: Hang all hooks and wires, and route them through explosion-proof conduits to the desired position. Finally, systematically wire them inside the distribution box according to your layout needs.
